
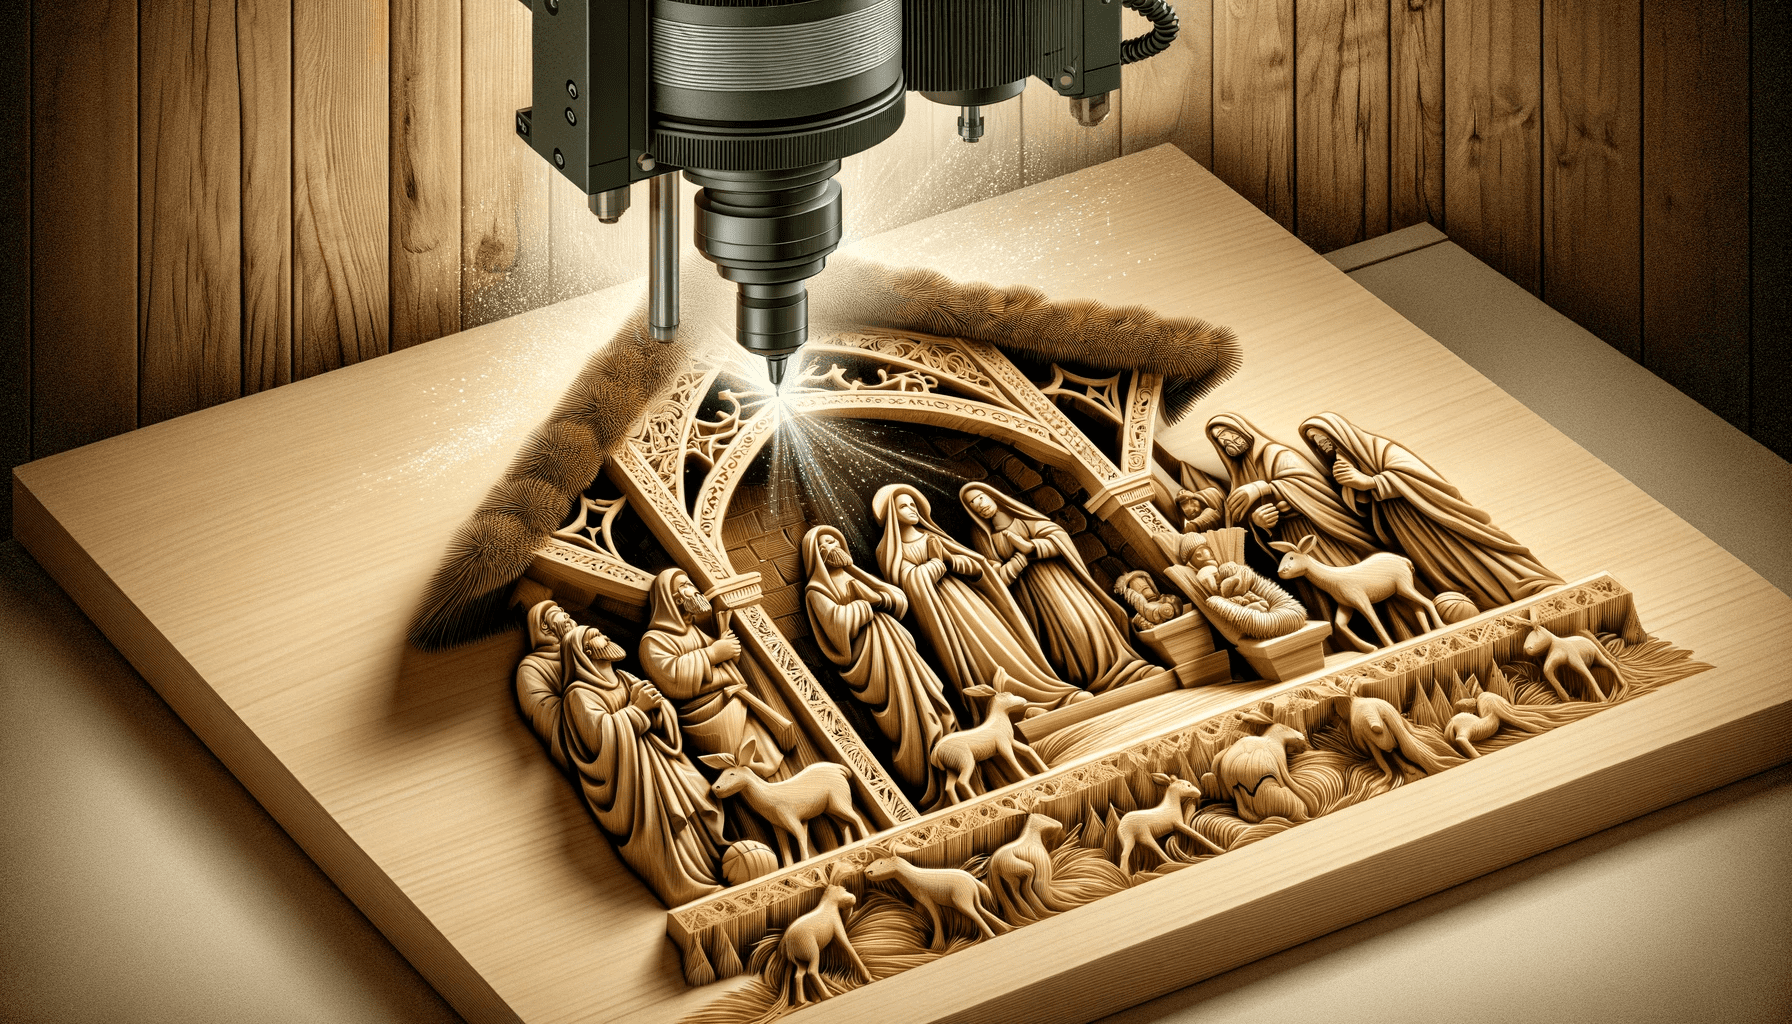
Precision CNC machining offers unparalleled capability for reproducing intricate artistic designs, making it ideal for crafting detailed nativity scenes. This method allows for consistent replication and fine feature resolution across various wood species, surpassing manual carving limitations.
Designing for Intricate Nativity Scenes
Creating compelling 3D relief sculptures for nativity scenes begins with robust CAD software. Programs like Vectric Aspire, VCarve Pro, and Autodesk Fusion 360 provide the necessary tools to translate artistic visions into machinable models. These platforms are widely recognized for their ability to handle complex 3D geometry required for detailed carvings.
Model preparation is critical for successful CNC carving. High-resolution mesh models, often generated from 3D scans or digital sculpting, ensure that fine details like facial features and fabric folds are accurately represented. Insufficient mesh density can lead to faceted surfaces and a loss of artistic intent during toolpath generation, requiring careful attention to the source model’s quality.
The digital sculpting process involves defining the depth and contours of the relief. Engineers must consider the material’s thickness and the smallest tool diameter to ensure all design elements are physically machinable. Overlapping geometry or excessively thin features can cause tool breakage or carving errors, necessitating thorough design validation within the CAM environment.
Tooling Selection for Fine Detail
| Parameter | Typical Range for Fine Detail | Notes |
|---|---|---|
| Cutter Diameter | 1/32″ to 1/8″ (0.8mm to 3.18mm) | Smaller diameters for intricate features. |
| Flute Count | 1 or 2 flutes | Optimized for chip evacuation in wood. |
| Material | Solid Carbide | Superior wear resistance and rigidity for hardwoods. |
| Shank Diameter | 1/8″ or 1/4″ (3.18mm or 6.35mm) | Matches common router collets. |
| Helix Angle | Low (e.g., 20°) | Reduces workpiece lifting, creates fine finish. |
Selecting the correct cutting tools is paramount for achieving the delicate features required in nativity scene figures. Small diameter ball nose end mills are indispensable for intricate 3D relief work, providing the necessary precision for fine contours.
Ball nose end mills, characterized by their hemispherical tip, are ideal for producing smooth, contoured surfaces and reaching into tight radii. Common diameters for detailed carving range from 1/32 inch to 1/8 inch, with 1/16 inch being a versatile choice for many applications. Tapered ball nose bits are also highly effective for 3D carving, offering strength while maintaining a small tip radius.
Tool material significantly impacts performance and longevity. Solid carbide end mills offer superior hardness, rigidity, and heat resistance compared to High-Speed Steel (HSS), making them preferred for hardwoods and extended carving operations. Coatings like AlTiN further enhance tool life and reduce friction, especially in demanding applications.
Optimizing Feeds and Speeds for Hardwoods
Machining hardwoods like maple, cherry, or walnut for nativity scenes demands precise control over feeds and speeds to prevent burning, tool deflection, and premature wear. These dense materials require careful parameter selection.
A conservative approach to chip load is essential when using small diameter tools in dense materials. For a 1/16 inch carbide ball nose end mill in maple, typical feed rates might range from 20 to 50 inches per minute (IPM) with spindle speeds between 16,000 and 24,000 RPM. The goal is to create small chips, not fine dust, to efficiently remove heat.
Stepover, the distance the tool moves laterally between passes, directly influences surface finish and machining time. For roughing, a stepover of 40-60% of the tool diameter is common, while finishing passes often utilize a stepover of 5-15% to achieve a smooth surface. A smaller stepover significantly increases machining time but yields a superior finish.
Tool deflection becomes a significant concern with slender tools. Reducing the depth of cut (stepdown) and maintaining a rigid workholding setup minimizes vibration and ensures consistent carving accuracy. Monitoring chip evacuation is also vital to prevent recutting and heat buildup, which can dull the tool or scorch the wood.
Achieving Superior Surface Finish
Executing effective ball nose finishing passes is the cornerstone of producing high-quality, detailed figure machining with minimal post-processing. This stage refines the intricate contours of the nativity scene.
A multi-stage machining strategy is often employed, starting with roughing passes using larger tools to remove bulk material quickly. Subsequent semi-finishing and finishing passes with progressively smaller ball nose end mills refine the details and smooth the contours. This approach reduces the load on the delicate finishing tools.
Toolpath strategy plays a crucial role in surface quality. Raster toolpaths, which move the tool in parallel lines, are common for general relief. However, contour-parallel or spiral toolpaths can yield superior results on organic shapes by following the natural flow of the geometry, minimizing visible tool marks. Cutting at a 45-degree angle to the grain can also reduce fraying.
Achieving a pristine surface requires meticulous attention to stepover. A very small stepover, typically 5-10% of the tool diameter or even 0.005 to 0.010 inches for fine details, ensures that tool marks are minimized, reducing the need for extensive manual sanding. This also helps preserve the crispness of small features, crucial for detailed figures.
Post-Processing and Aesthetic Enhancement
After machining, proper post-processing, including staining and highlights, transforms the raw carving into a finished artistic piece, emphasizing its intricate details and bringing the figures to life.
Initial sanding is often necessary, even with excellent surface finishes. Fine-grit sandpaper (220-400 grit) carefully removes any remaining tool marks or fuzz, particularly in areas where the grain might have lifted. Compressed air or a soft brush helps remove dust from crevices, ensuring a clean surface for subsequent treatments.
Applying stains or washes enhances the depth and contrast of the relief. A thin, penetrating stain can be applied and then wiped back, allowing the darker pigment to settle into the carved recesses, accentuating shadows and contours. Water-based stains offer easier control and cleanup, while gel stains can also be used to fill imperfections.
Highlighting techniques further bring out the figures. Dry brushing with a lighter, opaque paint on the raised surfaces can create a subtle glow, drawing attention to specific features like faces or hands. Alternatively, a clear topcoat or wax can protect the wood and provide a desired sheen, sealing the piece against environmental damage.