
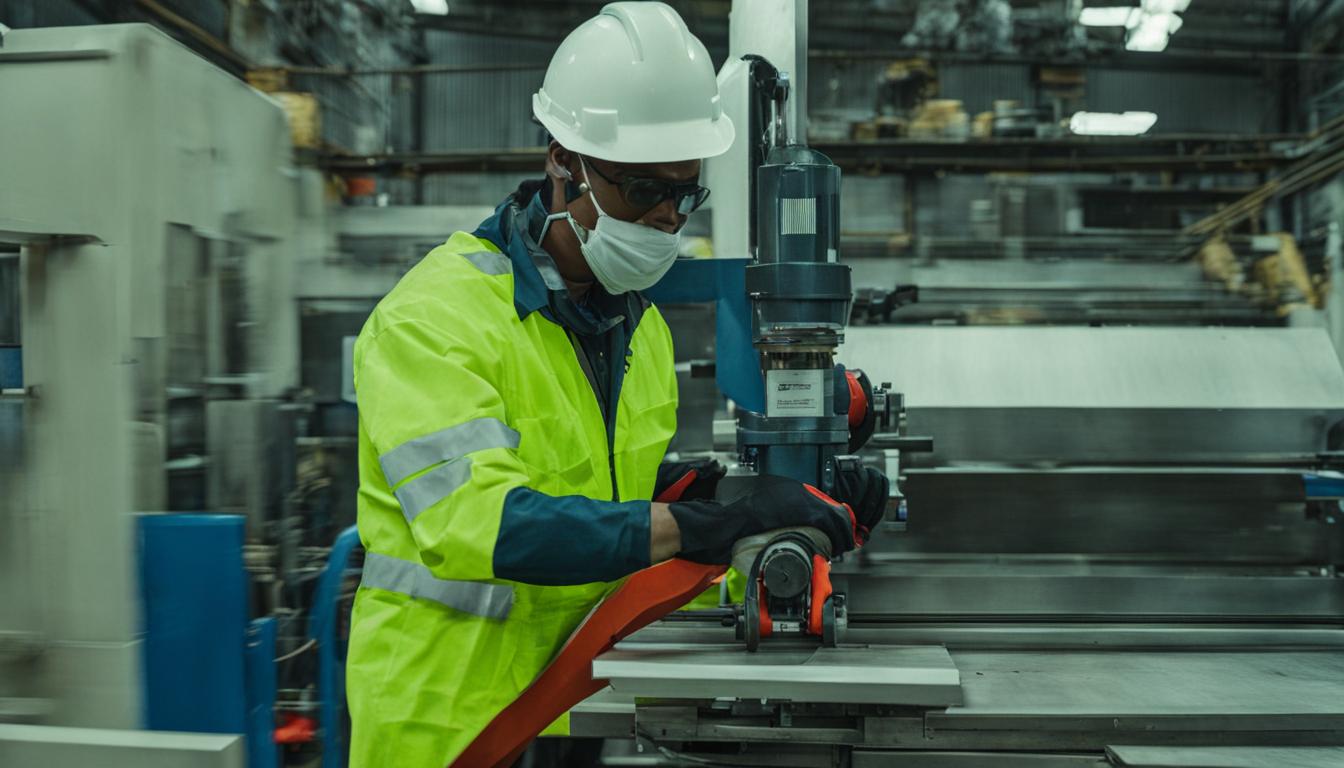
Operating milling machines demands a rigorous adherence to safety protocols to prevent injuries and ensure efficient production. These powerful tools, whether manual or CNC, present inherent hazards that necessitate constant vigilance and proper engineering practices. Understanding and implementing comprehensive safety measures is paramount for every machinist.
The majority of milling machine incidents often occur during workpiece adjustments or unloading, primarily involving contact with rotating cutters or sharp components. Such incidents can lead to severe injuries, including amputations or degloving.
Prioritizing Personal Protective Equipment
Wearing appropriate Personal Protective Equipment (PPE) is the foundational layer of defense against common machining hazards. This includes safety glasses, hearing protection, and suitable footwear. OSHA mandates employers to provide necessary eye and face protection against mechanical, chemical, environmental, and radiological hazards.
Safety glasses must meet the ANSI/ISEA Z87.1-2025 standard, which specifies requirements for impact resistance and optical clarity. Look for the ‘Z87+’ marking on lenses or frames, indicating high-impact protection. Polycarbonate and Trivex lenses offer superior impact resistance.
Hearing protection is highly recommended, and often required, in noisy machine shop environments to prevent hearing damage. Additionally, closed-toe shoes are essential, with steel-toed boots recommended when handling heavy workpieces or tools.
Face shields are also critical when performing operations that generate significant flying debris or sparks, such as grinding. This additional layer of protection safeguards the entire face from potential harm.
Safe Chip Management and Work Area Hygiene
Effective chip management is crucial for maintaining a safe and productive milling environment. Accumulating chips can pose significant safety hazards, including sharp edges, slippery surfaces, and potential entanglement risks.
Never use bare hands to remove metal chips from the workpiece or machine table while the machine is running or even when stopped. Always use a brush or other suitable tool for chip removal.
Compressed air should not be used to clear chips from machines. High-pressure air can propel chips into eyes or force debris into machine bearings, causing damage. Instead, utilize brushes, shop vacuums, or dedicated chip removal systems.
Maintaining a clean and organized workspace around the milling machine is essential. This reduces slip and fall hazards and prevents obstructions that could interfere with safe operation.
Rigid Workholding for Machining Stability
Securely clamping the workpiece is a non-negotiable safety and quality requirement in milling operations. An improperly secured part can become a dangerous projectile, causing severe injury and machine damage.
Workholding devices, such as vises and fixtures, must be chosen and applied correctly to resist cutting forces. Vises should be clamped tightly to the machine table, and the workpiece itself must be rigidly held within the vise jaws.
For a standard 6-inch milling vise, general rough machining on steel typically requires 40-60 ft-lbs of torque, with a maximum rated torque of 80 ft-lbs, yielding approximately 8,000 lbs of clamping force. Always start at the lower end of the recommended torque range and adjust as needed after test cuts.
Over-clamping can lead to part distortion, jaw marks, and internal stresses, especially in thin-walled or finished parts. Using a torque wrench ensures consistent and appropriate clamping force, preventing both workpiece movement and damage.
Fixture design principles, such as the 3-2-1 locating principle, ensure repeatable and stable part positioning. Locating elements must contact stable, repeatable surfaces, avoiding cosmetic or unfinished areas.
The machine itself must be anchored to the floor to prevent vibration, which can loosen clamps and fasteners, compromising workpiece security and machining accuracy.
Controlling Clothing and Personal Items
Loose clothing, dangling jewelry, and unsecured long hair pose significant entanglement hazards around rotating machinery. These items can be caught by spindles, cutters, or other moving parts, leading to severe injuries such as scalping, degloving, or even death.
Operators must wear close-fitting clothing, tuck in shirts, and roll up sleeves. Neckties, scarves, and hood strings are strictly prohibited.
All jewelry, including rings, watches, necklaces, and bracelets, must be removed before operating a milling machine. These items can easily snag and pull an operator into the machine.
Long hair and beards must be securely tied back or covered with a hat or hairnet to prevent entanglement. Braiding long hair is not sufficient, as it can still be pulled into the spindle.
Gloves are generally not permitted during machine operation due to the risk of entanglement with rotating parts. However, cut-resistant gloves may be used for handling sharp tools or clearing chips when the machine is completely stopped.
Mastering Emergency Stop Procedures
Knowing the location and proper operation of the emergency stop (E-stop) button is a critical safety measure for all milling machine operators. E-stop circuits are the last line of defense, designed to immediately halt hazardous machine operations.
E-stop buttons are typically red mushroom-head actuators with a yellow background, making them highly visible and easily identifiable. They must be located at every operator control station and any point where intervention may be required.
Activating an E-stop initiates a rapid, controlled shutdown, removing power to machine actuators through a dedicated, hardwired, fail-safe path. This system operates independently of the machine’s main control logic, ensuring a stop even if the controller is faulted or unpowered.
After an E-stop is activated, a deliberate manual reset is required; automatic resets are prohibited by standards like NFPA 79 and ISO 13850. Regular functional testing of E-stop systems is essential to verify their proper operation.
Operators must receive comprehensive training on E-stop procedures, including how to activate the button and the subsequent actions to take. This knowledge is vital for responding effectively to unexpected hazardous situations.