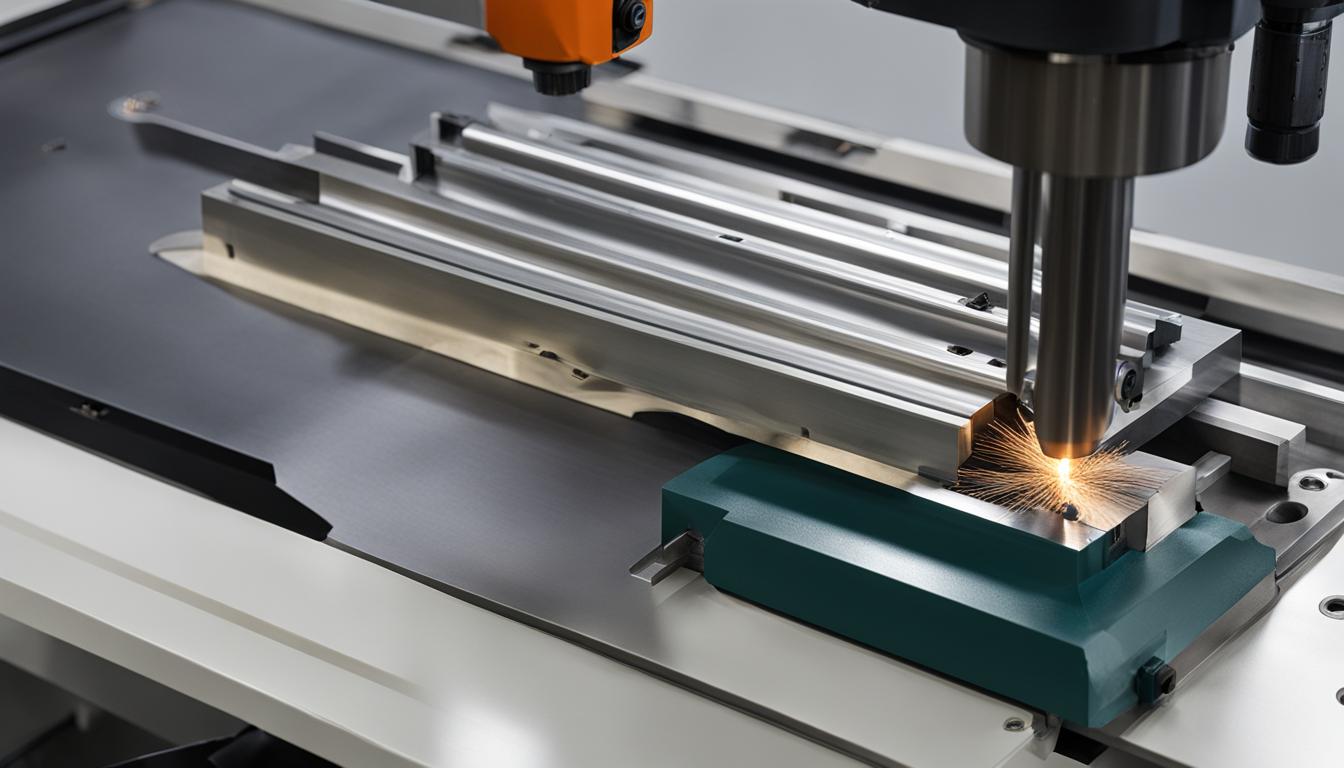
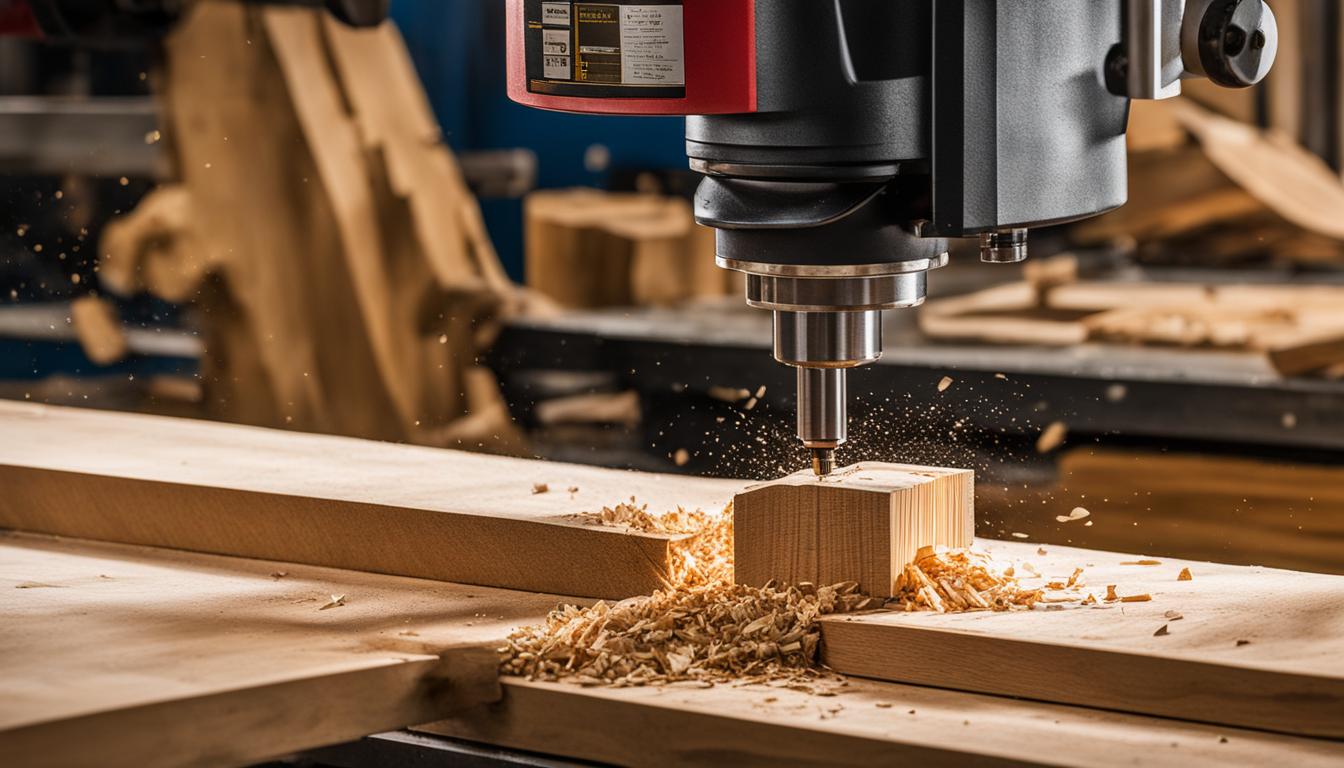
A pocket in CNC machining refers to a recessed area or cavity cut into the surface of a workpiece. This feature is created by removing material from a specific region, leaving surrounding areas intact. Pockets can vary in shape, size, and depth, ranging from simple rectangular or circular cutouts to complex geometries with intricate details. They serve numerous purposes in manufacturing, including weight reduction, accommodating components in assemblies, creating clearance spaces, or enhancing the aesthetic appeal of a part.
CNC machines utilize specialized toolpaths and cutting strategies to efficiently produce pockets, often employing end mills or other appropriate cutting tools. The process of creating a pocket typically involves roughing operations to remove bulk material, followed by finishing passes to achieve the desired surface quality and dimensional accuracy. Advanced CNC software allows for precise control over pocket parameters, enabling manufacturers to create custom designs tailored to specific functional or aesthetic requirements.
- Pocketing is a cutting operation in CNC machining that efficiently removes material using an end mill cutting tool.
- There are different styles of pocket toolpaths, including traditional lace or zig-zag, concentric or offset In/Out, and high-speed cutting paths.
- The parameters for pocket milling toolpaths include roughing and finishing tools, pattern selections, cutting direction options, cutting angle, step over percentage, side and bottom allowances, depth controls, and lead-in and lead-out commands.
- Pocket toolpaths can be applied to both open and closed wall regions in CNC machining.
- CAD/CAM software like BobCAD-CAM and RhinoCAM provide user-friendly interfaces for programming pocketing operations.
Different Styles of Pocket Toolpaths in CNC Machining
In CNC machining, different styles of pocket toolpaths are utilized to efficiently remove material and achieve desired machining results. These toolpaths provide flexibility and customization options based on the specific requirements of the project.
One of the traditional styles of pocket toolpaths is the lace or zig-zag pattern. In this style, the tool moves back and forth to remove material, creating a visually appealing texture on the surface. This pattern is suitable for various applications, including decorative engravings and surface finishes.
Another style is the pocket In/Out toolpath. This style follows the boundary of the pocket, moving in and out to remove material. It is commonly used for creating pockets with defined depths and precise contours. The pocket In/Out toolpath enables precise material removal while maintaining the integrity of the pocket shape.
For high-speed material removal, the high-speed pocket milling toolpath is employed. This style utilizes optimized cutting strategies to achieve faster machining times. It is ideal for projects that require efficient material removal, such as roughing operations or large-scale production tasks.
Table: Comparison of Different Styles of Pocket Toolpaths
| Style | Characteristics | Applications |
|---|---|---|
| Lace or Zig-Zag | Back and forth tool movement | Decorative engravings, surface finishes |
| Pocket In/Out | Follows pocket boundary, in and out movement | Pockets with defined depths, precise contours |
| High-Speed Pocket Milling | Optimized cutting strategies | Roughing operations, large-scale production |
The choice of pocket toolpath style depends on factors such as the desired surface finish, the complexity of the pocket’s contours, and the required machining speed. By understanding the different styles of pocket toolpaths in CNC machining, operators can select the most suitable approach to achieve their machining goals.
Parameters for Pocket Milling Toolpaths in CAD/CAM Software
In the world of CNC machining, pocket milling toolpaths play a crucial role in efficiently removing large amounts of material. These toolpaths are programmed using CAD/CAM software, which provides a wide range of parameters to control the pocketing operation. The various parameters allow machinists to fine-tune the toolpath and achieve desired machining results.
The first parameter to consider is the selection of roughing and finishing tools. CAD/CAM software offers a library of tools to choose from, including end mills, ball mills, and specialized cutters. By selecting the appropriate tools, machinists can optimize the cutting process and achieve efficient material removal.
The next set of parameters revolves around the cutting strategy and pattern for material removal. Machinists can define the cutting direction as either climb or conventional, depending on the desired finish and tool performance. Additionally, the software allows for pattern selections such as traditional lace or zig-zag, concentric or offset In/Out, and high-speed cutting paths. These options provide flexibility in tailoring the toolpath to specific machining requirements.
| Parameter | Description |
|---|---|
| Roughing and Finishing Tools | Select appropriate tools for efficient material removal |
| Cutting Direction | Choose between climb or conventional cutting |
| Pattern Selections | Define the cutting strategy, such as lace or zig-zag, concentric or offset In/Out |
| Cutting Angle | Specify the angle at which the tool engages with the material |
| Step Over Percentage | Determine the amount of overlap between tool passes |
| Side and Bottom Allowances | Set desired material allowances for finishing cuts |
| Depth Controls | Control the depth of each roughing step |
| Lead-in and Lead-out Commands | Define smooth entry and exit motions for the tool |
Pocket Milling Toolpaths for Open and Closed Wall Regions
Pocket milling toolpaths are versatile and can be applied to both open and closed wall regions in CNC machining. Understanding the differences in pocketing operations for these two types of regions is crucial for achieving accurate and efficient machining results.
In an open wall pocket operation, the pocket is not enclosed, and the toolpath follows the boundary of the open region. This type of pocketing is commonly used for creating recesses for inlays or trays, allowing for precise and controlled material removal.
On the other hand, closed wall pocket operations involve fully enclosed pockets, where the toolpath removes material within the closed boundary. This type of pocketing is often used for creating joinery, such as mortises, ensuring a precise fit for the assembled components.
By utilizing pocket milling toolpaths for both open and closed wall regions, CNC machinists can effectively machine various parts and achieve the desired design specifications.
Table: Comparison of Open and Closed Wall Pocket Operations in CNC Machining
| Open Wall Pocket Operation | Closed Wall Pocket Operation | |
|---|---|---|
| Definition | Pocket is not enclosed | Pocket is fully enclosed |
| Toolpath | Follows the boundary of the open region | Removes material within the closed boundary |
| Application | Creating recesses for inlays or trays | Creating joinery, such as mortises |
| Precision | Allows for precise material removal | Ensures a precise fit for assembled components |
| Usage | Commonly used in various industries | Popular in woodworking and carpentry |
Programming 2-Axis Pocketing Operations in RhinoCAM
RhinoCAM is a powerful software that enables programmers to efficiently program 2-axis pocketing operations in CNC machining. With its user-friendly interface and advanced features, RhinoCAM offers a seamless workflow for creating precise pocket toolpaths.
To begin the programming process in RhinoCAM, operators first need to set up the stock and import the tool database. This involves defining the material dimensions and selecting the appropriate cutting tools for the operation. Once the stock and tools are set, programmers can locate the geometry and select the control geometry for the pocketing operation.
Next, programmers choose the tool for the operation and set the feeds and speeds. This ensures optimal cutting conditions and helps achieve desired machining results. Additionally, operators define the clearance plane, which is the safe height above the stock where the tool can move without cutting any material. Sorting the machining regions and specifying the cut parameters further fine-tune the pocketing operation.
Finally, programmers set the entry and exit motions for the pocketing operation. These motions determine how the tool approaches and leaves the pocket area, helping to minimize tool marks and improve surface finish. By following this comprehensive pocketing operation workflow in RhinoCAM, operators can effectively program 2-axis pocketing operations and achieve accurate and efficient machining results.

Pocket Toolpaths in CNC Woodworking
CNC woodworking utilizes pocket toolpaths for various applications, including recess carving for inlays and trays, as well as creating joinery such as mortises. The pocket toolpath offers precise material removal within a closed boundary, allowing for accurate and efficient machining. Using software packages like Vectric VCarve, CNC operators can easily set up and utilize the pocket toolpath, opening up opportunities for creative designs and precise woodworking.
When using the pocket toolpath in CNC woodworking, operators can achieve recess carving for inlays and trays with ease. By defining the cutting depths, selecting appropriate tools, and configuring feeds and speeds, CNC operators can carve out intricate designs with precision. The pocket toolpath is also ideal for creating mortises, allowing for accurate joinery in woodworking projects.
Software like Vectric VCarve provides a user-friendly interface for setting up and utilizing the pocket toolpath. Operators can easily define the pocket allowance, select cutting methods, and specify pass settings for optimal results. Additionally, advanced features such as toolpath projection onto 3D models enable operators to create complex and detailed woodworking projects.

Advantages of Pocket Toolpaths in CNC Woodworking
- Accurate and precise material removal within a closed boundary
- Ability to create recesses for inlays and trays
- Efficient creation of joinery, such as mortises
- User-friendly software interfaces for easy setup and utilization
- Advanced features like toolpath projection for complex designs
| Advantages | Applications |
|---|---|
| Accurate and precise material removal within a closed boundary | Recess carving, joinery |
| Ability to create recesses for inlays and trays | Recess carving |
| Efficient creation of joinery, such as mortises | Joinery |
Using the Pocket Toolpath in Vectric VCarve Software
When it comes to CNC woodworking, Vectric VCarve software offers a powerful solution for utilizing the pocket toolpath. With this software, woodworkers can efficiently carve out the inside area of their designs, whether it’s a simple square or a more intricate hand shape. The pocket toolpath setup in Vectric VCarve involves several key considerations to achieve optimal results.
One important aspect of the pocket toolpath setup is defining the cutting depths. Woodworkers need to determine how deep the tool should cut into the material to achieve the desired result. This is an essential step in controlling the depth of the pocket and ensuring that it matches the design specifications.
Another crucial factor is tool selection. Woodworking projects often require different types of tools, such as end mills or router bits, depending on the complexity and intricacy of the design. Choosing the right tool for the pocket toolpath is essential for achieving clean and accurate cuts.
Pass settings are also a critical consideration in the pocket toolpath setup. Woodworkers need to determine the number of passes the tool will make to achieve the desired depth. By adjusting the pass settings, they can control the cutting speed and optimize the efficiency of the machining process.
To summarize, Vectric VCarve software provides a comprehensive pocket toolpath functionality for CNC woodworking. Woodworkers can set up the pocket toolpath by defining the cutting depths, selecting the appropriate tool, and configuring the pass settings. By leveraging the capabilities of Vectric VCarve, woodworkers can achieve precise and high-quality pocket cuts in their woodworking projects.
Advanced Settings and Techniques for Pocket Toolpaths
When working with pocket toolpaths in CNC machining, there are advanced settings and techniques that can be employed to achieve more precise and tailored results. These advanced features provide additional control and customization options, allowing operators to optimize their pocket milling operations. Here are some key advanced settings and techniques:
Corner Fillets:
One important advanced setting is the ability to add corner fillets to the pocket toolpath. This feature is particularly useful when dealing with rounded corners left by the router bit. By adding corner fillets, operators can ensure that the corners of the pocket are accurately machined, resulting in smoother and more aesthetically pleasing finishes.
Finishing Passes:
Another advanced technique is the use of finishing passes. These passes are additional cutting operations that are performed at the bottom of the pocket to improve the cut quality. By specifying finishing passes, operators can achieve cleaner and more precise results, especially in situations where the initial pocketing operation may have left some imperfections.
Toolpath Projection:
Toolpath projection is an advanced technique that allows operators to project the pocket toolpath onto a 3D model. This feature is particularly useful when machining complex or irregular surfaces. By projecting the toolpath, operators can ensure that the pocket conforms to the contour of the model, resulting in a more accurate and seamless machining process.
By utilizing these advanced settings and techniques, CNC operators can enhance the accuracy and quality of their pocket toolpaths, achieving superior machining results. It is important to familiarize oneself with the capabilities of the CNC software being used, as different software may offer varying levels of customization and advanced features.
Tips and Tricks for Using the Pocket Toolpath
When it comes to utilizing the pocket toolpath in CNC machining, there are several key tips and tricks to keep in mind. These strategies can help optimize your workflow and achieve the best possible results.
The first tip is to carefully select the appropriate router bit for the pocket toolpath. Consider factors such as the material you are working with, the desired cutting speed, and the level of detail required. Using the right bit will ensure clean and precise cuts.
Another useful trick is to consider using multiple router bits for efficient material removal. By utilizing roughing and finishing tools, you can speed up the machining process while maintaining accuracy. Start with a larger roughing bit to remove bulk material, then switch to a smaller finishing bit for the final touches.
Additionally, adjusting the pass depth is crucial for balancing cutting time and bit strain. If you set the pass depth too deep, you risk overloading the bit and compromising the quality of the cut. On the other hand, setting it too shallow may result in an unnecessarily long cutting time. Find the right balance based on the material, bit size, and desired cut quality.
Lastly, make the most of the pocket allowance feature to accommodate variations in part sizes. This allows you to create pockets that fit perfectly even if there are slight deviations in the dimensions of your workpiece. By including a small margin in your pocket toolpath, you can ensure a seamless fit every time.
