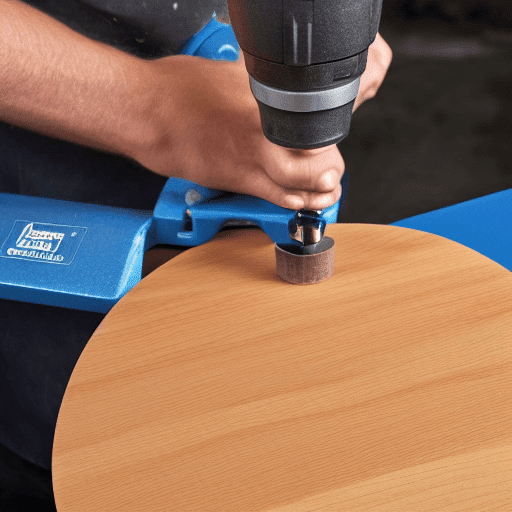
Rounding wood edges with a router is a relatively simple process that can be done with a few basic tools. To begin, you will need a router, a router bit, a straight edge, and a clamp. To round the edges of your wood using a router, follow these simple steps:
- Securely clamp the straight edge to the wood, ensuring it remains firmly in place. This straight edge will serve as a guide for the router bit.
- Adjust the router bit to the desired depth for the rounding effect.
- Commence routing the edge of the wood, maintaining a constant and smooth motion with the router bit. Keep the router bit flush against the straight edge for consistent results.
- After finishing the routing process, utilize a sanding block to smooth out any rough edges and achieve a polished finish.
By following these straightforward instructions, you can effortlessly round the edges of your wood using a router.
How do you round wood corners without a router?
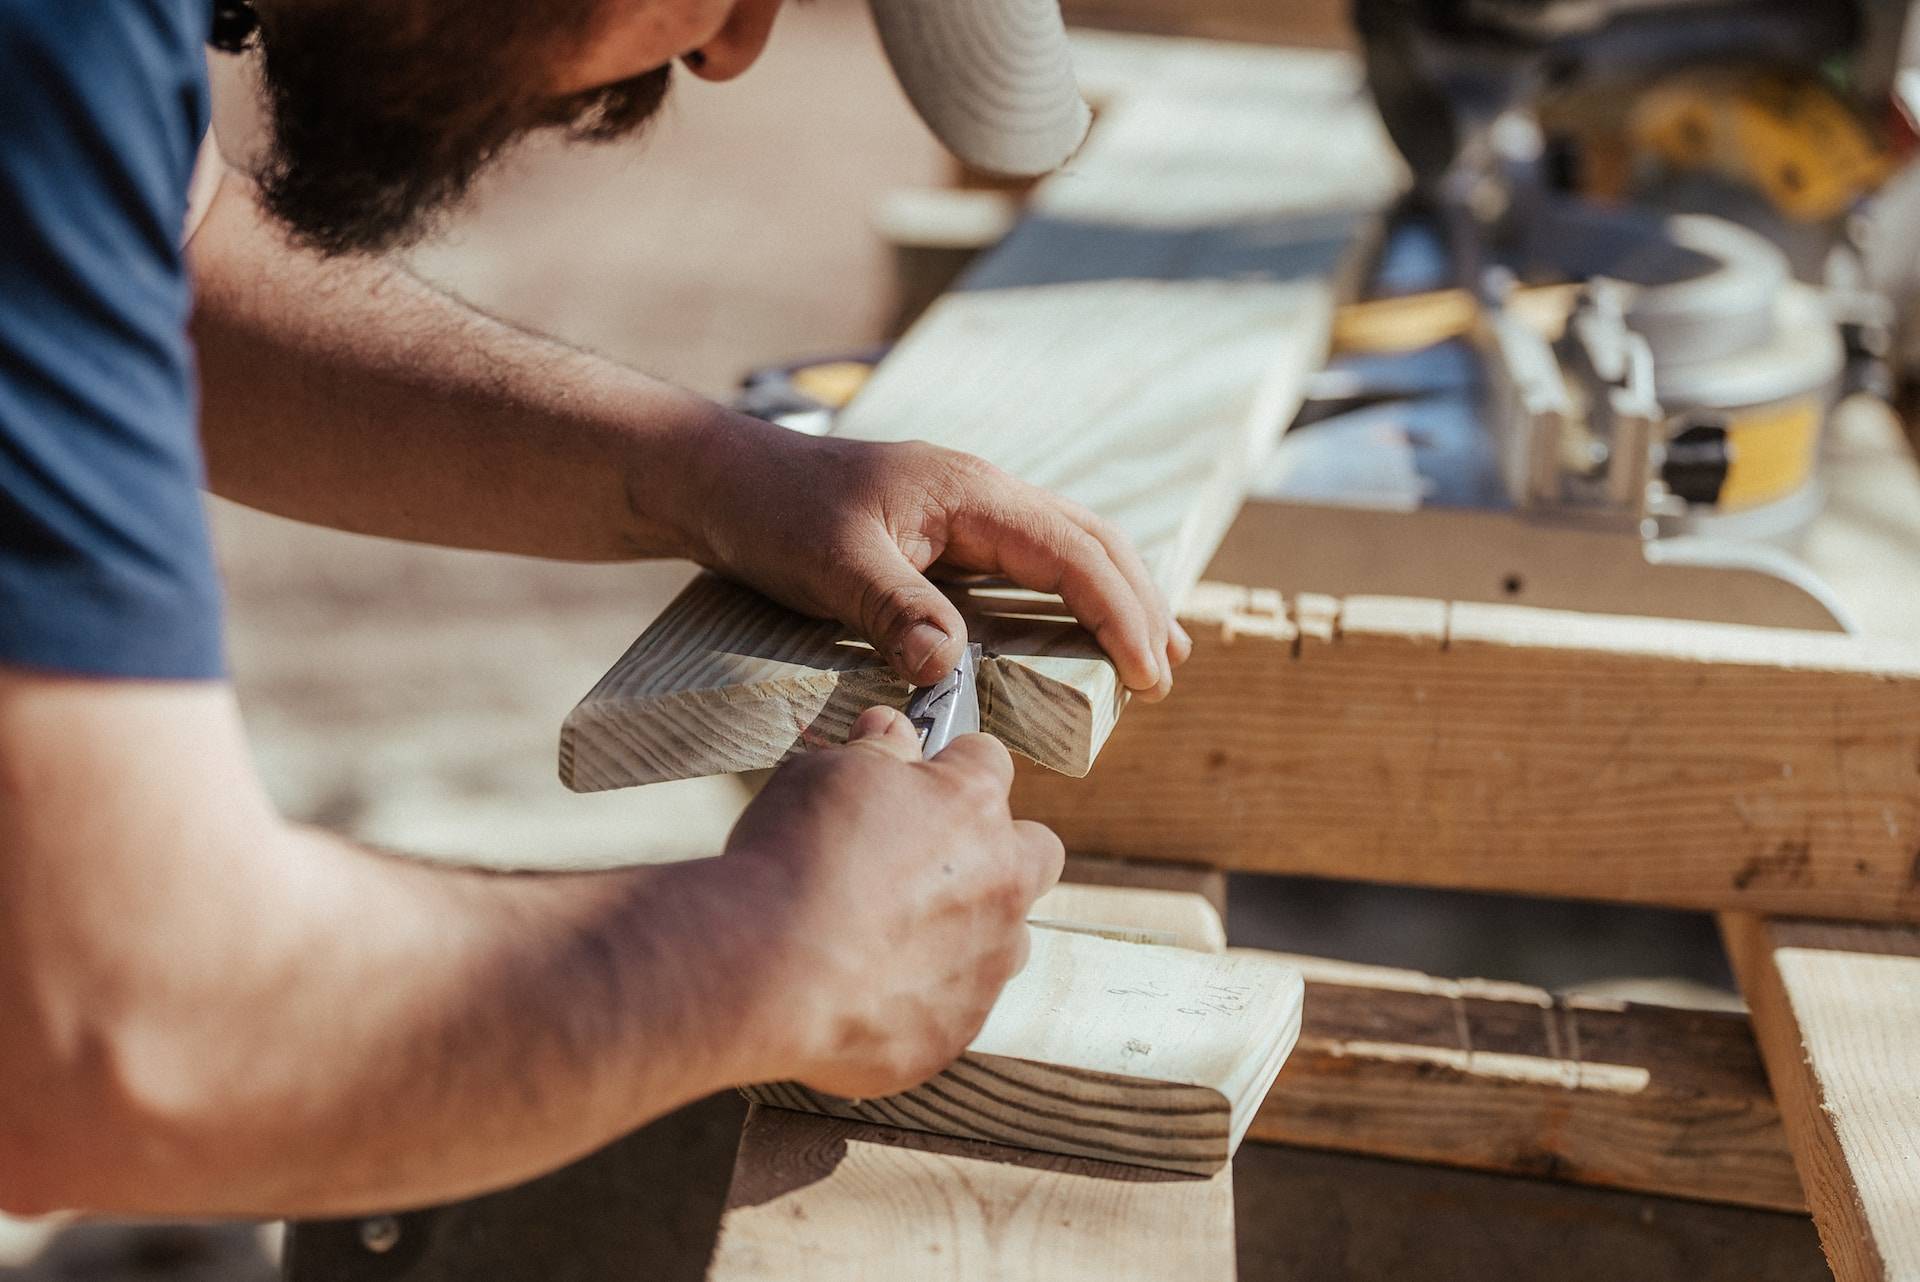
Rounding wood corners without a router can be accomplished using various methods. Among these, the most commonly employed technique involves using a chisel and a hammer. To begin, mark the specific corner of the wood that you wish to round off. Then, proceed to utilize a chisel to carefully remove the wood in gradual increments, ensuring that you maintain the chisel at an appropriate angle. While cutting the wood, apply gentle taps with a hammer to aid the chisel in cutting deeper into the material. Continue this process until you have achieved the desired rounded shape.
Another way to round wood corners without a router is to use a belt sander. Start by marking the corner of the wood that you want to round off. Use the belt sander to sand away the wood in small increments, making sure to keep the sander at an angle. As you sand away the wood, use a light touch to help the sander cut deeper into the wood. Continue to sand away the wood until you have achieved the desired shape.
How do you round wood edges by hand?
Rounding wood edges manually is a straightforward procedure that requires just a few basic tools. To begin, employ a hand saw to cut the wood into the desired shape. After the cutting is complete, utilize a rasp or file to gently smoothen the edges. Start by filing the edges in one direction, then switch to the opposite direction, ensuring a seamless and rounded edge. Once the edges are adequately smooth, employ sandpaper to further refine the shape. Begin with coarse grit sandpaper and gradually progress to finer grits until the desired shape is achieved.
To complete the process, apply a wood sealer or varnish to safeguard the wood and provide it with a polished appearance. With these steps, you can easily achieve well-rounded edges on your woodwork.
Can you use a 1/4 router bit in a Dremel?
Using a 1/4″ router bit in a Dremel can be a bit challenging and generally not recommended. Dremel tools are handheld rotary tools designed for light-duty tasks such as engraving, carving, sanding, and polishing. While they are versatile and can handle various accessories, they have limitations when it comes to using larger router bits.
Here are a few reasons why using a 1/4″ router bit in a Dremel might not be ideal:
- Shank Size: Most Dremel rotary tools come with a collet system that accepts accessories with shank sizes of 1/8″ (3.2mm). Trying to fit a 1/4″ (6.35mm) router bit into a 1/8″ collet will not work, and it might cause damage to the tool or the accessory.
- Power and Stability: Dremel tools have lower power and RPM (rotations per minute) compared to full-sized routers. Using a large router bit may require more power than a Dremel can provide, leading to subpar performance and potential overheating of the tool.
- Control and Precision: Dremel tools are best suited for intricate work and fine details due to their small size and lightweight design. Using a large router bit may compromise control and precision, resulting in potential safety hazards and less accurate cuts.
If you need to use a 1/4″ router bit for a specific project, it’s better to invest in a proper router or a compact trim router designed for handheld use. These tools have the necessary power and stability to handle larger router bits safely and efficiently. Always make sure to follow the manufacturer’s recommendations and safety guidelines for any tool you use.
More things to keep in mind
Before attempting any woodworking project, make sure to wear appropriate safety gear, including safety glasses and hearing protection, and follow the manufacturer’s safety guidelines for your specific router model.
Materials and tools you’ll need
- Wood piece to round the edges (e.g., a board, plank, or table)
- Router with a round-over or ogee bit (1/4″ or 1/2″ are common sizes)
- Router table or a handheld router with edge guide
- Clamps (if using a handheld router and edge guide)
- Pencil and measuring tape (optional, for marking the edges)
Step-by-step process
- Choose the right bit: Select a round-over or ogee bit for your router. Round-over bits create a simple, rounded edge, while ogee bits create a more decorative profile with a slight curve.
- Set up the router: If you have a router table, mount the router securely and install the appropriate bit. If using a handheld router, ensure it is turned off, and then insert the bit into the collet and tighten it according to the router’s instructions.
- Adjust the depth: Set the desired cutting depth on the router. For beginners, it’s best to start with a shallower depth and make multiple passes to achieve the desired roundness gradually.
- Secure the wood: If using a router table, make sure the wood piece is firmly attached to the table with clamps. If using a handheld router, attach an edge guide to the router and secure it to the wood piece using clamps. The edge guide will act as a fence to guide the router and ensure a consistent edge profile.
- Practice on scrap wood: Before working on your actual project, practice the routing technique on a scrap piece of wood to get a feel for the router’s movement and to check the depth setting.
- Start routing: Turn on the router and carefully guide it along the edge of the wood in the direction opposite to the rotation of the bit. Move the router in a smooth and steady motion to create an even round profile. For the best results, move the router in the same direction along the entire length of each edge.
- Multiple passes (if necessary): If you are using a shallower depth setting or if you want a more pronounced round-over, make multiple passes along the same edge, adjusting the depth as needed. This will help you achieve a smoother and more consistent curve.
- Sand the edges: After rounding the edges, you may notice some slight imperfections or roughness. Use sandpaper to smooth out any uneven spots and achieve a perfectly rounded finish.
- Final inspection: Check the rounded edges for consistency and smoothness. Make any necessary adjustments or sanding until you are satisfied with the results.